NetScaler’s NITRO is very powerful and feature rich API. It is robust to the point where you can manage nearly 100% of NetScaler functionality through it. This makes enterprise level programmatic management and orchestration of NetScaler fleets a reality. The one drawback is that since it’s a REST API it can be a bit difficult to interface with directly without some kind of wrapper or library.
Powershell is very useful for anything from quick and dirty management to reusable scripts. So, lets talk about bringing the NITRO and Powershell together.
Brandon Olin has published a very easy to use NetScaler Powershell Module based on the NITRO API. The module, has been published in the Microsoft Powershell Gallery, so it’s very easy to install and get started.
Installation
The module can be installed directly from the Powershell Gallery with the Install-Module cmdlet. Before running that, you do need to think about the context where you want to run the module.
First, you need to decide if you want to run the module in the 32 or 64 bit version of Powershell. In most cases it will be the 64 bit version, but in certain situations (like PRTG integration) you’ll want to run in the 32 bit version.
Next, decide if you want the module installed for all users, or just for your user account. If you want to install for all users, you’ll need to launch Powershell as an admin user. If not, you can run it normally.
Once you have the right version of Powershell running, just run:
Install-Module -Name NetScaler -scope CurrentUser
If you want the module installed for all users, add the “-scope AllUsers” option:
Install-Module -Name NetScaler -scope AllUsers
Connecting
Before you can do anything with the module, you need to connect to a NetScaler. There are two ways to connect based on how you want to handle the credentials. For an interactive session, you can provide the credentials on demand. For programmatic sessions (scripting), you will want to store the credentials and provide them to a script.
Interactive
To connect an interactive session simply run:
Connect-NetScaler -Hostname <NSIP>
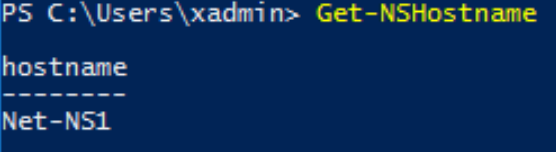
When the connection is made, Powershell will prompt for a username and password. Enter administrative credentials for the NetScaler and the connection will be made. If the connection is successful, you’ll go back to a Powershell prompt. If there are any problems, there will be a descriptive error. A quick test for a good connection is to run the Get-NSHostname command and make sure you get the expected hostname.
Programmatic
To use the module in a script, we need to use a stored credential so that the script doesn’t prompt every time it is run. The basic method for that is to use the following block in your script to create the connection. There are more secure methods within Powershell to store and pass credentials, but this is an easy example that simply stores the password in the script file:
$Nsip, $Username, $Password = "1.2.3.4", "nsroot", "nsroot"
$SecurePassword = ConvertTo-SecureString
$Password -AsPlainText -Force
$Credential = New-Object System.Management.Automation.PSCredential ($Username,$SecurePassword)
$Session = Connect-Netscaler -Hostname $Nsip -Credential $Credential -PassThru
This block will create an object called Session in the Powershell context that can be used for any of the module cmdlets. It gets passed to the cmdlet with the “-session” flag:
Get-NSHostname -Session $Session
Keep in mind that while the rest of the examples in this post exclude it (since the interactive connection doesn’t require it), the session flag needs to be passed for any cmdlet that’s run after this point. Note that you can create multiple sessions (to additional NetScalers) in one script by creating additional variables like $Session with different names.
Commands
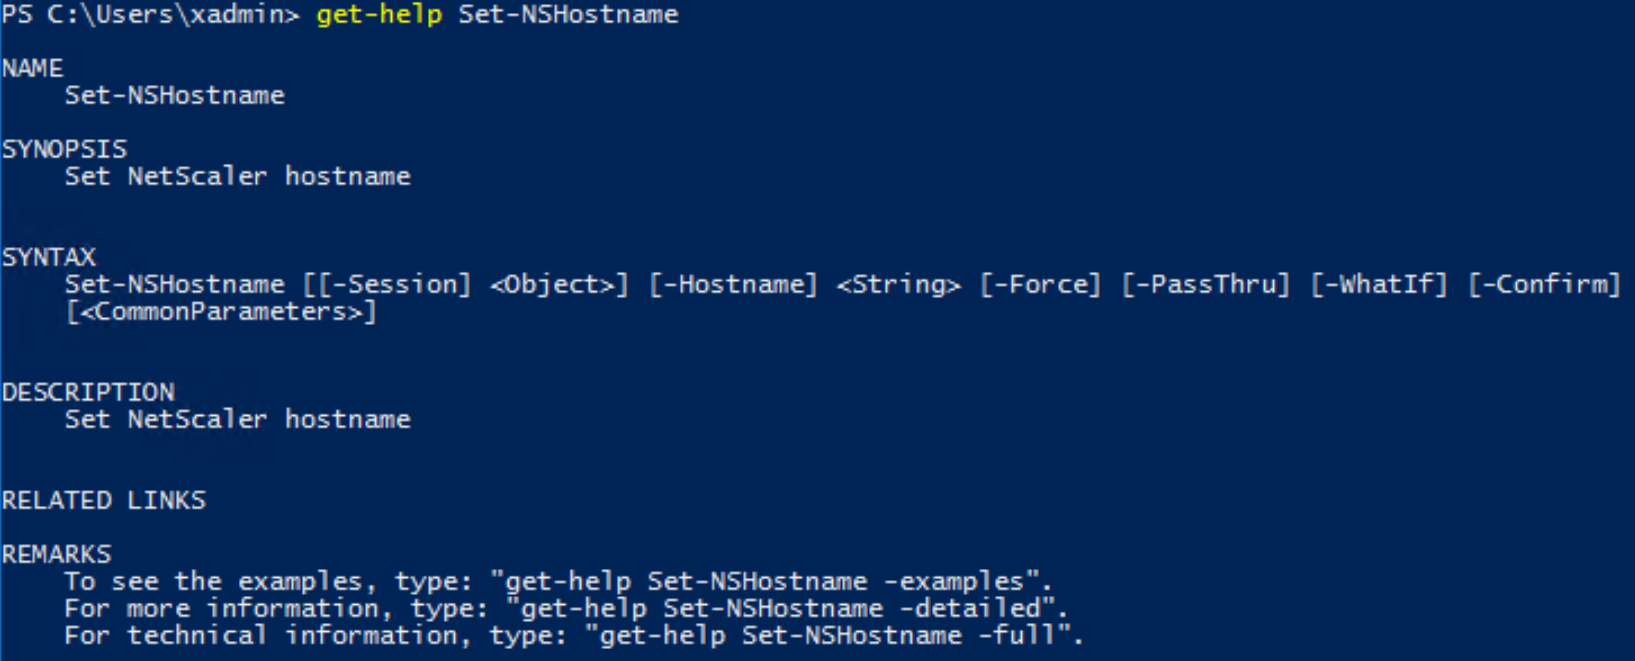
The module contains a ton of cmdlets for common management tasks on the NetScaler. You can see the full list of built in cmdlets on this page. You can get more details on the capabilties, parameters and outputs of any of these cmdlets with the Get-Help command:
The module also contains a cmdlet called Invoke-Nitro that allows us to execute NITRO commands that are not covered by one of the canned cmdlets. Using this cmdlet gets a bit more involved. You will need to dig into the NITRO API documentation for the NITRO command you want to run to find the parameters and format. Once you have that information though, you can call any NITRO command in the entire API.
Here’s an example of determining if the NetScaler is running with unsaved changes:
![]()
There’s a good example of using this in a script in my PRTG sensor here.
Conclusion
There is a massive amount of flexibility with NITRO. This Powershell module simplifies a lot of it with the common commands. Once you exhaust what the common commands can provide, the Invoke-Nitro cmdlet can call anything else in the API. It’s a bit daunting figure out how to use Invoke-Nitro the first time, but once you figure out the common parameter layouts in NITRO it’s pretty straight forward.
Leave a comment